First one gathers the yarn and plays with colour until the perfect combination is realised.
Then one winds the colours around some cardboard in combinations to see what the warp is going to be like and if one really likes the colours. I am aiming for something cheerful and primal.
This is the warping mill where the warp is wound to the length of the required cloth plus extra for samples and waste. There is a cross on each side to help to keep the threads separate for threading and to keep the shed (the threads apart for the different layers) open when weaving the weft.
This is what 308 threads look like.
The raddle is not an instrument of torture although many beginners believe this. It is tied securely to the back beam of the loom to aid with the threading process. This funny shape string actually holds it more tightly than any other way I have been shown so I REALLY want a record of it.
Now you can see the threads are being separated into groups to make them wind onto the back beam in their allotted place so that the warp is evenly wound across the beam. I hope you are not falling asleep with boredom...
This is what 616 stitches look like wound through the raddle around the back beam with brown paper to keep each layer seperate. This is a two person accomplishment. One holds the warp while the other winds. Those funny sticks are cross sticks which are inserted into the cross which I told you about before to keep the top and the bottom open. Now - let the threading begin......
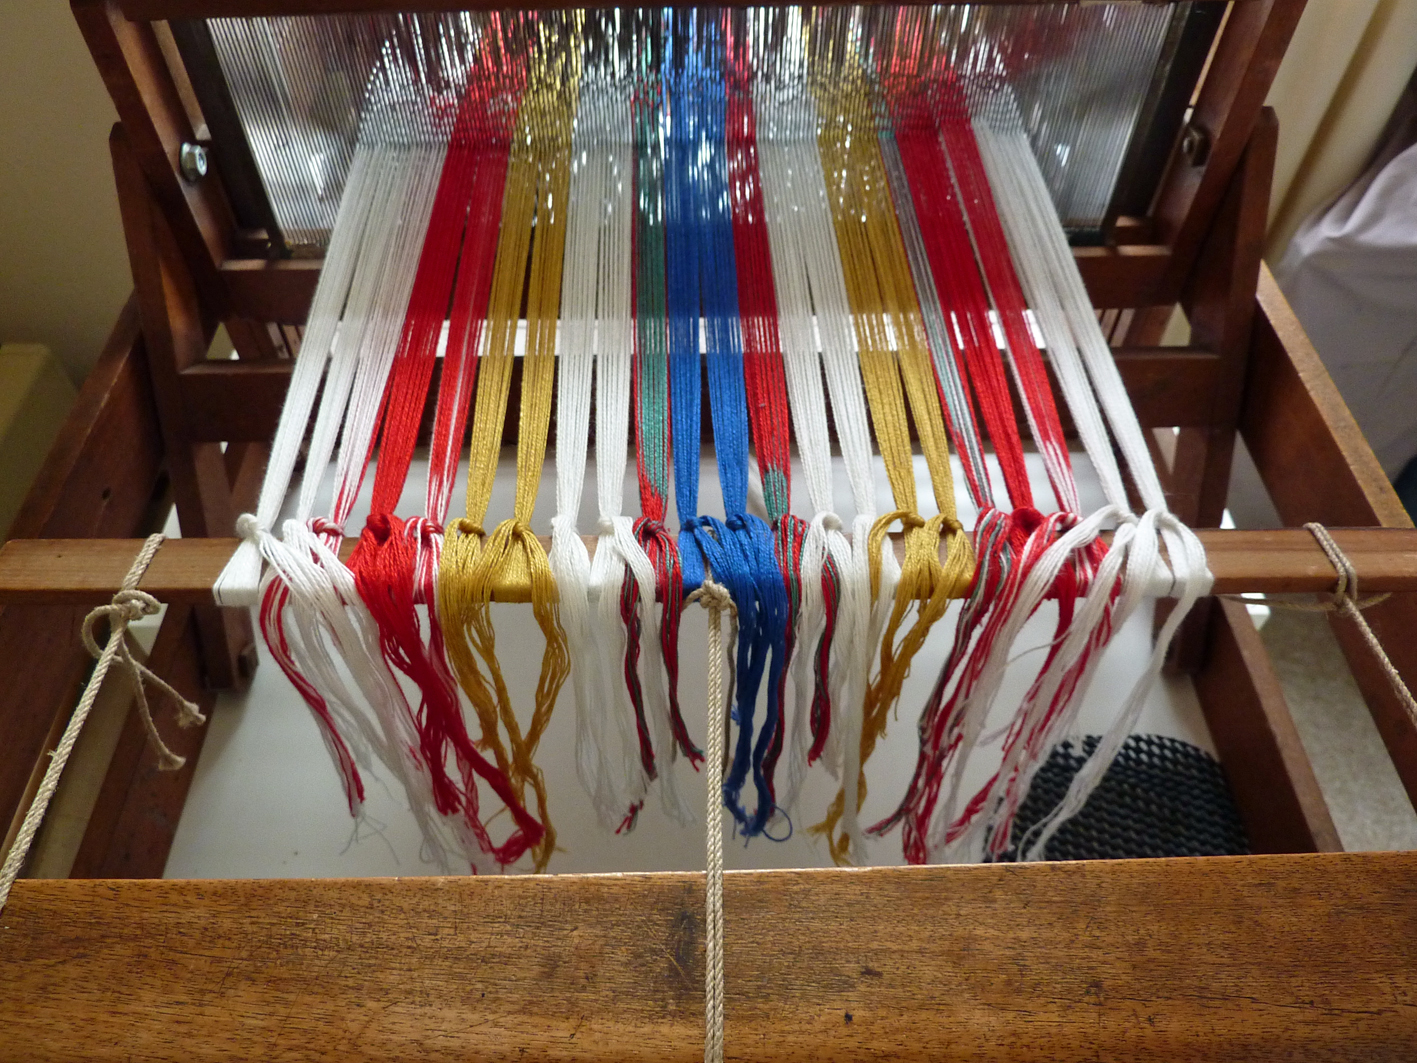
Each thread is threaded from the back of the loom, through a heddle which is one of those silver things in the photo. There is a lovely little hole for it to pass through on its journey to the front of the loom. The heddles are on the shafts of the loom. The threading is not over yet
There is still the joy of threading them all through the reed, the silver and wooden bit at the front of the loom. The reed keeps the threads in place during the weaving process. The reed beats the weft into place too.
The ends of the warp are then tied to the front beam keeping the tension as even as possible and then the warp is tensioned. Let the weaving begin...
The first bit of weaving is a check that the threading is correct and makes all the threads stand to attention in their correct intended slot on the fabric. Here one holds one's breath............................... and sometimes very rude words escape before one tries to breathe again. If there is a threading error, it is undone at this stage and corrected and then checked again. Threads can be isolated and rethreaded.
Let the weaving begin....
This piece has 15" of sample warp so here I am playing with colours before the proper weaving begins. It is going to be a my first tubular cloth if I am clever enough to manage not to weave the front and the back together. I had forgotten just how much I love doing this!!
The project has started.